


When you transfer your photos from your iPhone or iPad to your Windows computer, the process is a bit different compared to phones or tablets from other brands. We'll give you 2 tips to transfer your photos quickly and easily. The first method is with a USB cable and the second via iCloud. Show
Get started with transferring your photos There are different ways to transfer your photos from your iPhone or iPad to a Windows PC. If you don't use iCloud and prefer to use a USB cable, we'd recommend tip 1. Do you already use iCloud? Follow tip 2 to transfer your photos.
Note: we're working with Windows 10 in this article. The windows and icons can look a bit different if you're using a different version of Windows. Tip 1: transfer your photos with a USB cable
You can easily transfer all your photos from your iPhone or iPad to your computer if you go through the following steps.
Tip 2: transfer your photos with iCloud
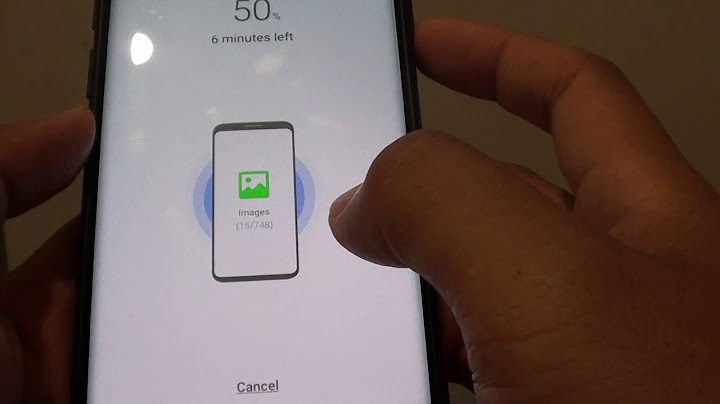
Don't have iCloud on your PC yet? You can download it in the Microsoft Store. You also have to turn on Photos in your iCloud settings.
Did this help you?
How can we improve this page? Optional We only use your feedback to improve the website, we won't respond. Article by: Evany Apple Expert.
If you're like me, you've probably snapped thousands of photos on your iPhone over the years. But now you want to copy them onto your computer for editing or just for safekeeping. No problem; there are a number of ways to do this. You can simply plug your iPhone into your PC via a USB cable and access the photos from your phone. You can use the Windows Photos app to import the photos from your phone to a specific folder. If you take advantage of OneDrive, you can automatically upload new photos that you snap on your iPhone to the OneDrive Pictures folder. And you can always sync your photos with iCloud. Also: How I took control of my iPhone's photos and freed up gigabytes Let's explore each method so you can find out which one works best for you. Plug your phone into your PCThe simplest way to transfer photos is to just plug your iPhone into your computer via USB. Your phone should appear as a device in File Explorer. Double-click the icon for your iPhone and drill down through the Internal Storage and DCIM folders. You should see one or more subfolders, each named with a number indicating the year and month the photos it contains were taken. Open the folder with the photos you want to access. From there, open another window in File Explorer pointing to the folder to which you want to copy the photos. Select the photos to transfer and then drag and drop or copy and paste them into the folder on your PC (Figure 1).
Figure 1: Select your photos. Screenshot/Lance WhitneyThough this seems like the easiest way to transfer photos, it doesn't always work reliably. Sometimes the DCIM folder doesn't appear. Other times, your latest photos may not be visible. In these cases, disconnecting and then reconnecting your phone to your PC may resolve this hiccup. Also: How to use Photoshop on your iPhone Use the Photos app in WindowsAnother option is to import the photos to your PC using Microsoft's Photos app. To do this, connect your iPhone to your computer via USB. Open the Windows Photos app. Click the Import icon in the upper right corner and select the option "From a connected device" (Figure 2).
Figure 2: Importing from a connected device. Screenshot/Lance WhitneyThe app should detect your connected iPhone and display the photos stored on it. By default, the photos will be imported to the Pictures folder under your user account, but you can change this by clicking the link for "Change destination" and selecting a different folder. ZDNET RecommendsClick the drop-down menu for Select and choose whether you want to import all folders or only those since the last import. You can also select all photos for a certain month and year or manually select individual photos. Further, you can opt to delete all the photos on your phone after they've been imported. After you've configured the import, click the button for "Import [x number] of [x] items" and the photos will be transferred to the chosen destination folder on your PC. If you opted to delete the photos from your phone, you'll be asked to confirm the deletion as the final step (Figure 3).
Figure 3: Import items. Screenshot/Lance WhitneyUse OneDriveIf you already use OneDrive to back up and sync your files, then you can enlist it to back up and sync photos from your iPhone to your PC. To set this up, download and install the OneDrive iOS app on your phone if you aren't already using it. Open the app and tap the Photos icon on the bottom. Tap the Turn On button for Camera Upload. You can opt to upload selected photos, allow access to all photos, or or not to allow access. You'll want to choose the option to allow access to all photos. Your photos are then uploaded and visible on the Photos screen of the OneDrive app (Figure 4).
Figure 4: OneDrive requesting access to photos. On your PC, open the OneDrive folder, select Photos, and then select Camera Roll. In Camera Roll you'll see subfolders for year and then month. Open one of the month folders to see the photos inside. You can either leave the photos in OneDrive accessible on your PC or copy them to a local folder (Figure 5).
Figure 5: Photos in OneDrive. Screenshot/Lance WhitneyUse iCloud PhotosAnother option for copying your iPhone photos to your Windows PC is to use iCloud Photos. This provides access to your photos not only on your computer but on any other Apple device syncing with iCloud. On your iPhone, go to Settings and select your name at the top of the screen. Tap the setting for iCloud, select Photos, and then toggle on "Sync this iPhone." You can also flick on the switch for Shared Albums if you want to share or access shared albums with other people (Figure 6).
Figure 6: Enable iCloud Photos syncing. Screenshots/Lance WhitneyNext, you'll need to download the iCloud for Windows app from the Microsoft Store. Open the app after installation and click the Options button for Photos. Check the options for iCloud Photos and Shared Albums if not already checked. Click Done and then click Apply (Figure 7).
Figure 7: Enable iCloud Photos. Screenshot/Lance WhitneyOpen File Explorer and click the entry for iCloud Photos. You should now see all your synced photos (Figure 8).
Figure 8: Your iCloud photos on Windows. Screenshot/Lance WhitneyThe iCloud for Windows app is a handy option for a Windows PC, but it is saddled with a couple of major drawbacks. The app dumps all your photos into one flat folder structure, so they're not organized according to any folders or albums you may have created on your iPhone or in iCloud. Also, the app doesn't support true two-way syncing, so if you delete a photo in the iCloud folder on your Windows PC, it does not get deleted in iCloud or on your other devices. Best optionsOverall, I think Windows Photos is your best bet for manually transferring photos from your iPhone to your Windows PC, and OneDrive is the best method for automatically transferring them. |

How to get photos from your iphone to your computer
Related Posts


Copyright © 2024 membukakan Inc.